Mopub Setting
於 2021年8月23日 (一) 09:43 由 imported>Wikiuser 所做的修訂
將TaMedia及MoPub SDK加入專案中,MoPub初始教學請參考官方教學
接著進入MoPub後台設定
介面使用官方教學 https://developers.mopub.com/publishers/ui/manage-apps/
因為MoPub 的後台介面有更新,不同時期申請帳號會看到不同介面,請依照對應的介面做設定
新版MoPub設定
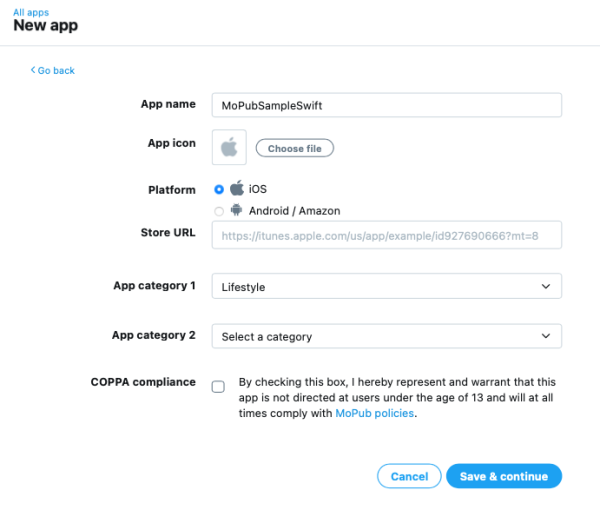
- Step1. 建立新app
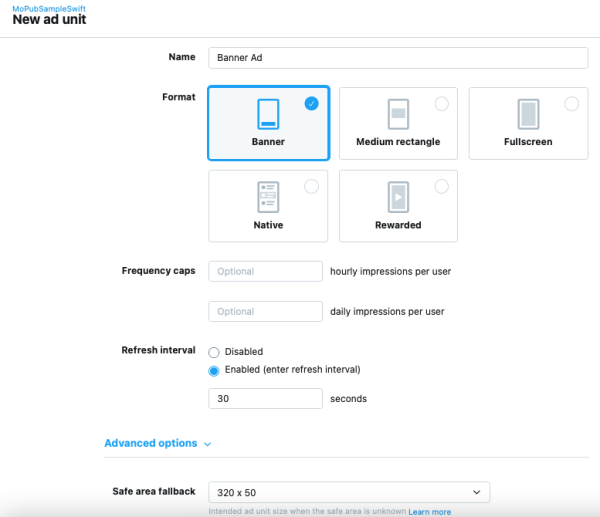
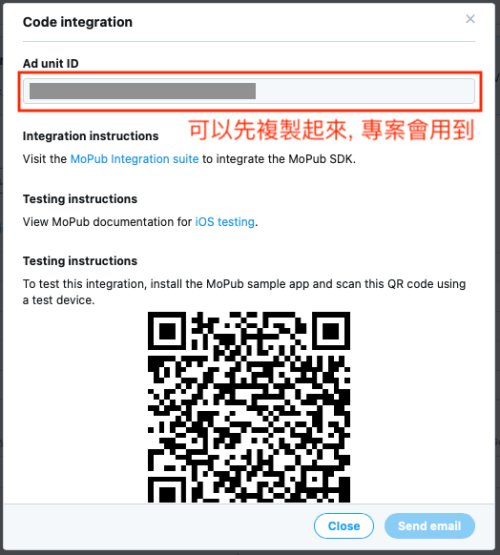
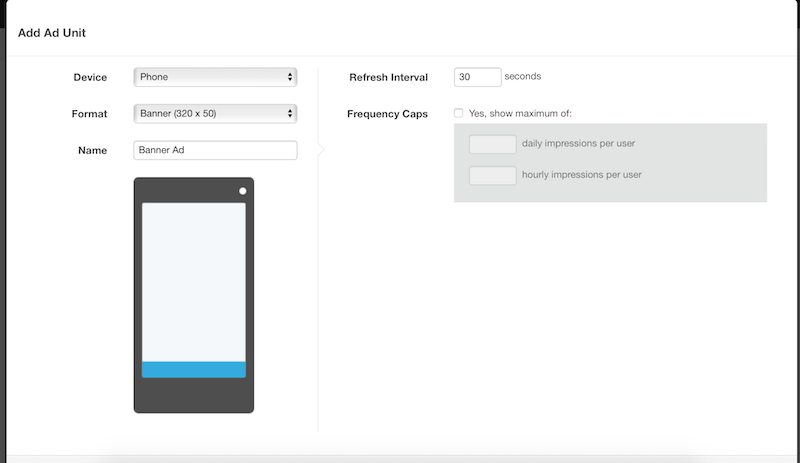
- Step2. 新增Unit
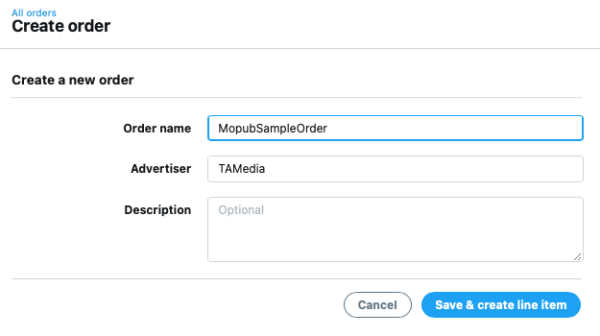
- Step3. 新增Order
- Step4. 新增Line Item
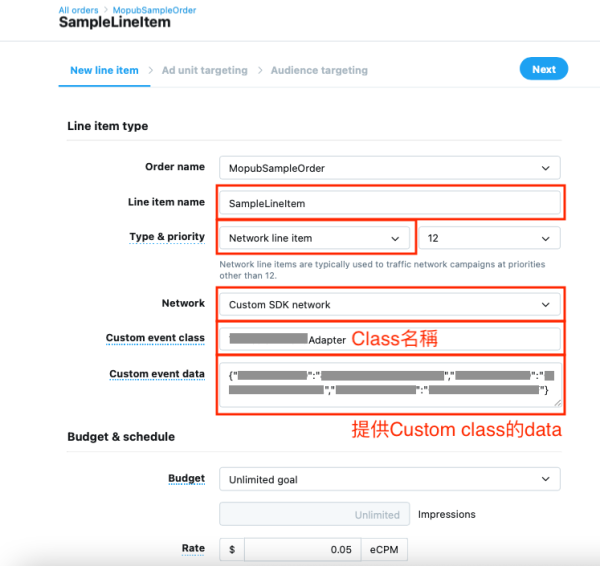
請依照下圖依序填入
- -Line item name -> 任意名稱
- -Type & priority -> Network line item
- -Network -> Custom SDK network
- -Custom event class -> 名稱必須與專案內建立的一致
- -Custom event data -> 內容為Json格式,key分別為BannerId,NativeId,InterstitialId,value為Tamedia提供給您的廣告Id
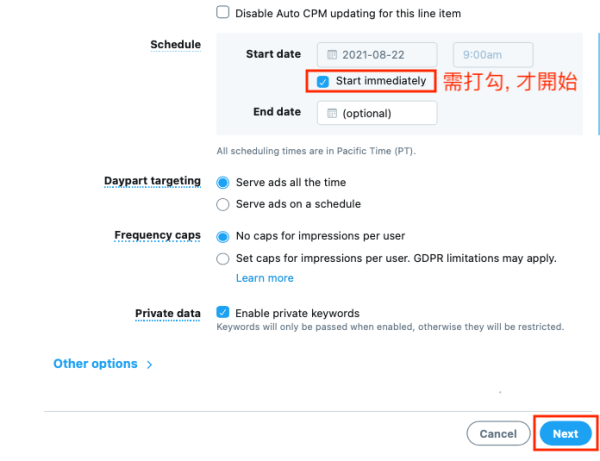
- -向下捲動, Start immediately 需打勾, 點擊 Next
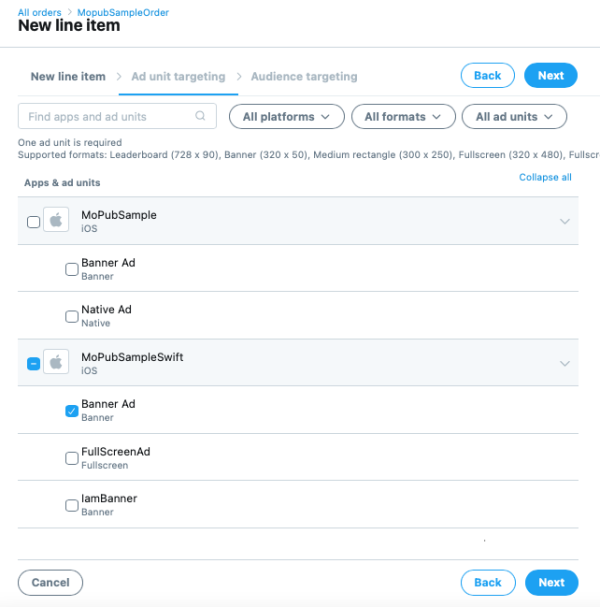
- -選擇前面建好的App, ad units
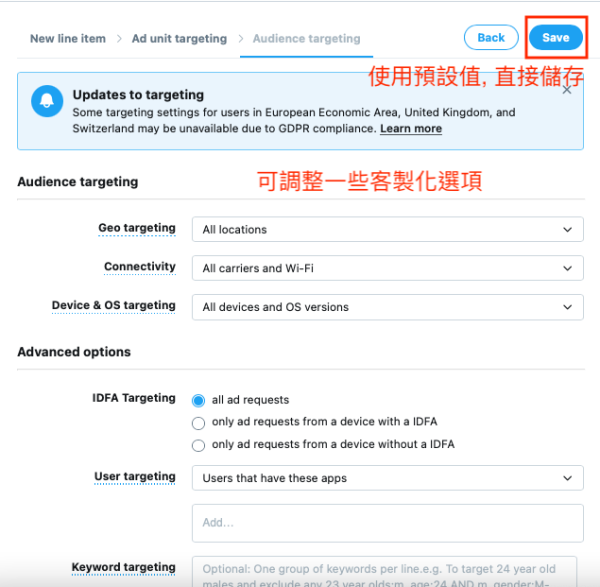
- -點選Save即完成
舊版MoPub設定
- Step1. 建立新app
- Step2. 新增Unit
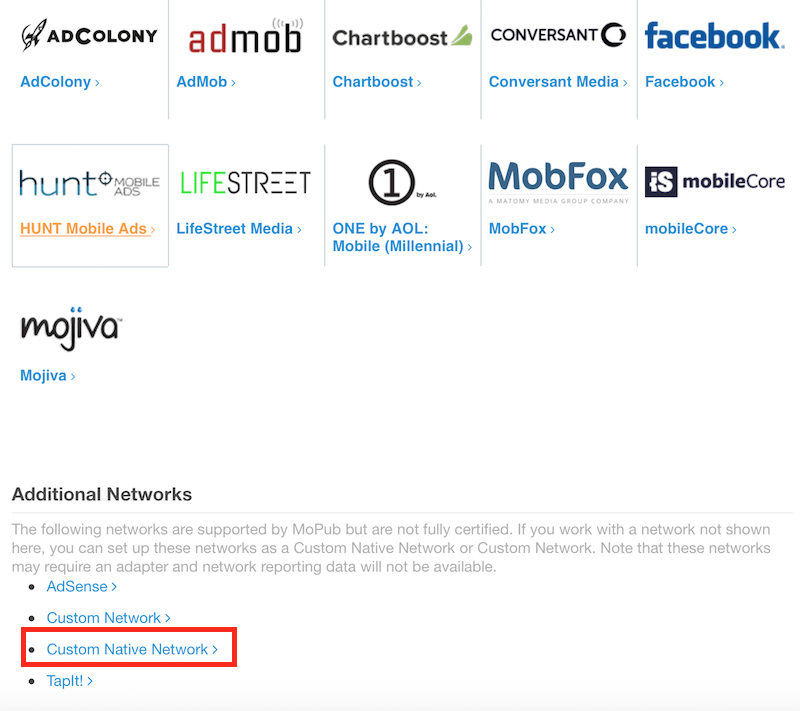
- Step3. 新增Network,選擇Custom Native Network
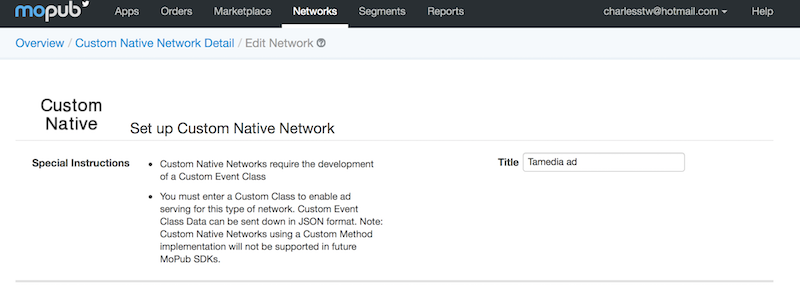
- Step4. 輸入名稱
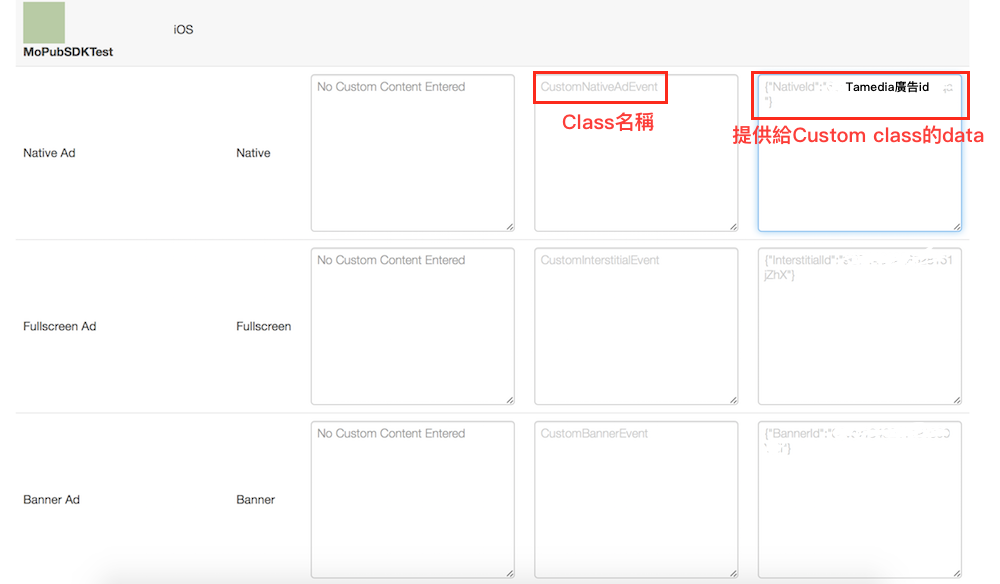
- Step5. 輸入Custom Event Class及Data內容
此處Custom event class名稱必須與專案內建立的一致
Data內容為Json格式,key分別為BannerId,NativeId,InterstitialId,value為Tamedia提供給您的廣告Id
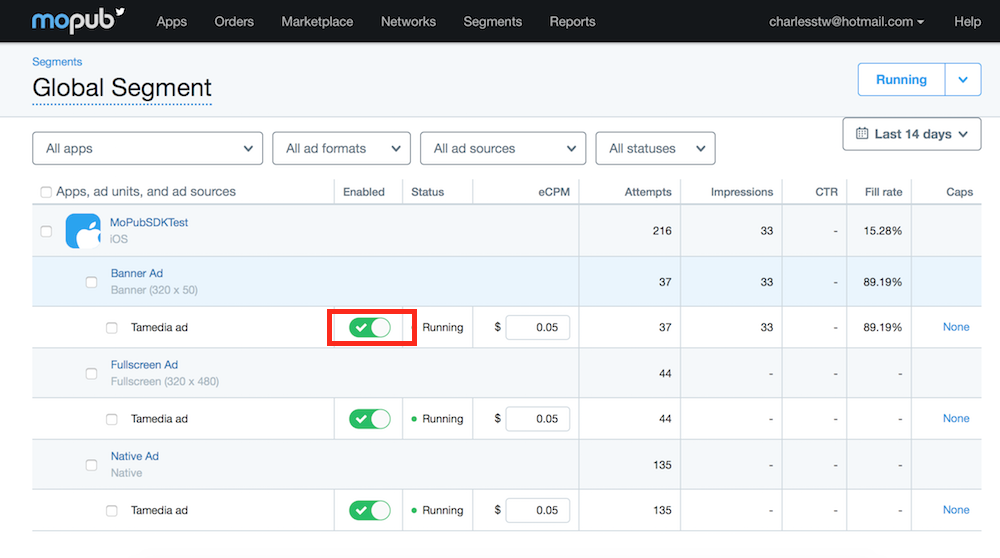
- Step6. 最後開啟Network授權


